How to Repair Slats on Shutters
6 min read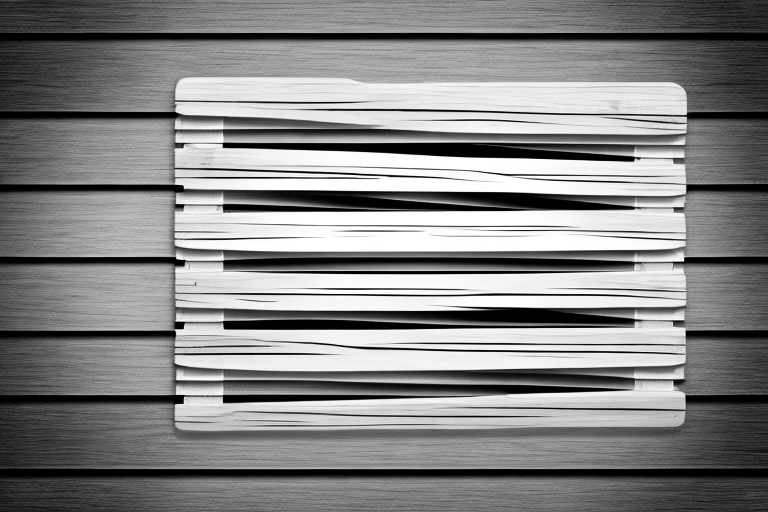
A wooden shutter with a broken slat being repaired
Shutters serve as an essential protective feature for homes and buildings. Not only do they enhance the visual appeal of the structure, but they also provide security, insulation, and privacy. However, shutters are not invincible and are prone to damages. One common problem that homeowners face is damaged slats. The good news is that you can repair them yourself with just a few tools and some replacement slats. In this article, we will provide you with a step-by-step guide on how to repair slats on shutters.
Understanding the Importance of Maintaining Shutters
Before we dive into the repair process, it is essential to understand the importance of maintaining shutters. Shutters serve as a first line of defense against harsh weather conditions and potential break-ins. They also help regulate the temperature inside the home, improving energy efficiency. Additionally, shutters add value to your home and improve curb appeal. Therefore, regular maintenance is crucial to keep them functioning correctly and looking great.
Regular maintenance of shutters involves cleaning them regularly to prevent the buildup of dirt and debris. It is also important to inspect them for any signs of damage, such as cracks or warping, and repair them promptly to prevent further damage. Lubricating the hinges and other moving parts can also help keep them functioning smoothly. By taking these simple steps, you can ensure that your shutters continue to provide the protection and aesthetic appeal that they were designed for.
Common Causes of Damaged Shutters
Shutters are subject to harsh weather conditions such as strong winds, heavy rain, and hail. Over time, these elements can cause damages to the slats. Other factors that can damage shutters include accidents, improper use, and age. All these can weaken the connections between the slats and the frame, causing them to fall off or break.
In addition to the aforementioned causes, pests can also damage shutters. Termites, carpenter ants, and other wood-boring insects can cause significant damage to the wooden components of shutters. If left untreated, the damage can spread to other parts of the house, leading to costly repairs.
Furthermore, poor installation can also contribute to damaged shutters. If the shutters are not installed properly, they may not be able to withstand the weight of strong winds or heavy rain. This can cause the shutters to detach from the wall or frame, leading to further damage.
Tools and Materials Needed for Repairing Slats on Shutters
When repairing slats on shutters, you will need some tools and materials. These include a flathead screwdriver, a cordless drill, replacement slats, screws, and sandpaper. You can find these tools and materials at your local home improvement store.
Before beginning the repair process, it is important to measure the size of the slats that need to be replaced. This will ensure that you purchase the correct size replacement slats. Additionally, it is recommended to wear safety goggles and gloves while working with the tools and materials to prevent any injuries.
Once you have all the necessary tools and materials, start by removing the damaged slats using the flathead screwdriver. Then, use the cordless drill to attach the replacement slats with screws. Finally, use sandpaper to smooth out any rough edges and ensure a seamless finish.
Step by Step Guide to Repairing Slats on Shutters
Now that you have the necessary tools and materials, let’s dive into the repair process:
Step 1: Determine the Number of Damaged Slats
The first step is to identify the number of damaged slats. You can do this by examining the shutters and checking for missing or broken slats. Jot down the number of slats that need replacement.
Step 2: Remove the Damaged Slats
Next, use a flathead screwdriver to remove the screws that hold the damaged slats in place. Gently remove the slats and keep the screws for later use.
Step 3: Cut Replacement Slats to fit
Measure the length and width of the damaged slats and use these measurements to cut replacement slats to the right size using a saw. Sand the edges of the replacement slats to smoothen them.
Step 4: Install the Replacement Slats
Now, take the replacement slats and place them in the same location as the damaged slats. Use a drill to secure them in place using the screws you removed earlier. Repeat this process for all the damaged slats.
Step 5: Paint or Stain Your Repaired Shutters
Once you have installed the replacement slats, it’s time to apply a fresh coat of paint or stain. Use a paintbrush to apply an even coat, and let it dry completely before re-installing the shutters.
Step 6: Inspect Your Repaired Shutters
After the paint or stain has dried, inspect your repaired shutters to ensure that they are functioning properly. Open and close them to make sure that they are aligned and that the slats are not sticking. If you notice any issues, make the necessary adjustments to ensure that your shutters are working correctly.
Choosing the Right Replacement Slats for Your Shutters
When choosing replacement slats, you want to pick those that match the style, size, and color of your existing shutters. Take a sample of your shutters to the home improvement store, and the staff can help you find the perfect replacement slats.
It’s important to also consider the material of the replacement slats. If your existing shutters are made of wood, you may want to choose replacement slats made of the same type of wood to ensure a seamless match. However, if you’re looking for a more durable option, consider replacement slats made of vinyl or composite materials. These materials are resistant to moisture and won’t warp or crack over time, making them a great choice for areas with high humidity or extreme temperatures.
Tips for Preventing Future Damage to Your Shutters
Now that you have repaired your slats, you want to prevent future damages. Here are some tips you can use:
- Regularly inspect your shutters and look for damages.
- Protect your shutters from extreme weather conditions using storm shutters or shutters made from durable materials like aluminum.
- Keep shutters clean by removing dirt and debris regularly.
- Avoid using excessive force when opening and closing shutters.
Additionally, it is important to properly maintain the hinges and hardware of your shutters. Over time, these components can become loose or rusted, which can cause damage to the shutters themselves. Make sure to tighten any loose screws or bolts and replace any rusted hardware as needed.
Conclusion: Enjoying the Benefits of Well-Maintained Shutters
Repairing slats on shutters can seem like a daunting task, but with the right tools and materials, it’s a DIY project you can accomplish. Maintaining your shutters is important to ensure they function correctly, provide security, and enhance the beauty of your home. By following the steps outlined in this article, you can repair damaged slats on your shutters and prevent future damages. With well-maintained shutters, you can enjoy the many benefits they offer for years to come.
One of the benefits of well-maintained shutters is that they can help regulate the temperature inside your home. During hot summer months, closing the shutters can block out the sun’s rays and keep your home cooler. In the winter, closed shutters can help insulate your windows and keep warm air inside.
Another benefit of shutters is that they can provide an extra layer of security for your home. Closed shutters can deter potential burglars by making it more difficult for them to see inside your home. Additionally, shutters can be locked from the inside, adding an extra level of protection for your family and belongings.


