How to Remove Plastic Shutters
7 min read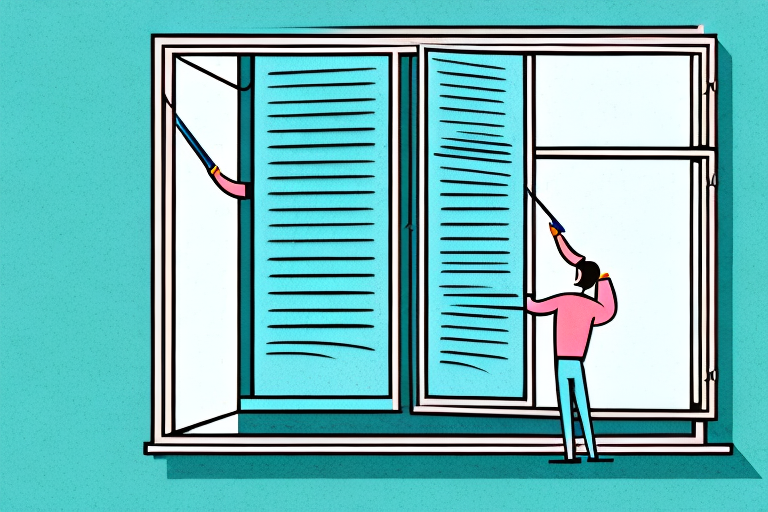
A person removing plastic shutters from a window
Plastic shutters are popular choices for exterior decor because of their affordability, durability, and easy maintenance. However, there may come a time when you need to remove them for repair, replacement, or aesthetic reasons. In this article, we’ll discuss the tools required, safety precautions to take, and step-by-step instructions for removing plastic shutters from walls and windows.
Tools Required for Removing Plastic Shutters
To safely remove plastic shutters, you’ll need a few essential tools, including:
- Safety goggles and gloves
- Ladder or stepladder
- Phillips head screwdriver
- Hammer or rubber mallet
- Putty knife
It’s important to note that the specific tools required may vary depending on the type of plastic shutters you are removing. For example, if the shutters are attached with clips or fasteners, you may need a different type of screwdriver or pliers to remove them. Additionally, if the shutters are located on a higher level of your home, you may need to use a scaffold or hire a professional to safely remove them.
Safety Precautions before Removing Plastic Shutters
Before you begin removing the shutters, it’s essential to take some safety precautions to prevent accidents or injuries. These include:
- Wear safety goggles and gloves to protect your eyes and hands from debris or sharp edges.
- Ensure the ladder or stepladder is on stable ground and secure before climbing.
- Disconnect any electrical wires or cables that may be attached to the shutters.
- Never stand on the top rungs of the ladder or overreach while working.
Additionally, it’s important to check the weather forecast before starting the removal process. If there is a chance of rain or strong winds, it’s best to postpone the task until the weather improves. Wet or windy conditions can make the ladder or stepladder unstable, increasing the risk of falls or accidents.
Furthermore, if you are unsure about how to remove the plastic shutters safely, it’s best to seek professional help. A qualified contractor or handyman can ensure that the shutters are removed correctly, without causing damage to your property or risking your safety.
Steps to Remove Plastic Shutters from Walls
Follow these step-by-step instructions to remove plastic shutters from walls:
- Remove the screws securing the shutter to the wall using a screwdriver.
- If the shutters are glued to the wall, use a putty knife to gently pry them off.
- Tap the shutter gently with a hammer or rubber mallet if it’s still stuck to the wall.
- Place the shutters on a tarp or any flat surface to prevent scratches or damage.
It’s important to note that if the plastic shutters are old or brittle, they may break during removal. In this case, it’s best to wear gloves and eye protection to avoid injury. Additionally, if the shutters are difficult to remove, it may be necessary to use a heat gun to soften the adhesive before attempting to pry them off.
How to Remove Plastic Shutters from Windows
If you’re removing plastic shutters from windows, the process is slightly different:
- Disconnect the shutters from the hinges or brackets using a screwdriver.
- Remove any pins or bolts holding the shutters in place.
- If the shutters are stuck, spray a lubricant around the edges and tap them gently with a hammer or rubber mallet.
- Remove the shutters and place them on a flat surface to avoid damage.
It’s important to note that some plastic shutters may have additional screws or fasteners that need to be removed before the shutters can be taken down. Check the manufacturer’s instructions or consult a professional if you’re unsure about the process. Additionally, if the shutters are old or damaged, it may be best to replace them entirely rather than attempting to remove and reinstall them.
Tips for Disposing of Old Plastic Shutters Responsibly
Now that you’ve removed your old plastic shutters, it’s essential to dispose of them responsibly. Here are a few tips:
- Recycle the shutters if possible rather than throwing them in the trash.
- Contact your local recycling center or waste disposal service for specific instructions.
- If you can’t recycle them, consider repurposing the shutters for DIY projects or passing them on to someone who may need them.
Another option for disposing of old plastic shutters is to donate them to a local charity or non-profit organization. Many organizations accept building materials and home improvement items to use in their projects or to sell in their thrift stores.
If none of these options are available, and you must throw the shutters away, be sure to do so in accordance with your local waste disposal regulations. Some areas require certain items to be disposed of in specific ways, such as at designated facilities or on certain days of the week.
Common Mistakes to Avoid When Removing Plastic Shutters
While removing plastic shutters may seem straightforward, there are a few common mistakes that you should avoid:
- Never force the shutters off the wall or window, as this can damage the surface and lead to expensive repairs.
- Be careful when using a hammer or rubber mallet, as excessive force can deform or crack the shutters.
- Never leave any screws or bolts behind. This can be a safety hazard and may damage the wall or window frame.
It is also important to wear protective gear, such as gloves and safety glasses, when removing plastic shutters. This will protect your hands and eyes from any debris or sharp edges that may be present. Additionally, if you are unsure about how to properly remove the shutters, it is recommended to consult a professional to avoid any potential damage or injury.
How to Clean the Wall After Removing Plastic Shutters
Removing plastic shutters may leave behind some residue or marks on the wall. Here’s how you can clean the wall:
- Use a gentle soap or detergent mixed in warm water to remove any grime or dirt.
- Scrub the wall gently with a scrub brush or sponge.
- Rinse with clean water and allow the wall to dry completely before repainting or installing new shutters.
If the residue or marks are particularly stubborn, you can try using a mixture of baking soda and water to create a paste. Apply the paste to the affected area and let it sit for a few minutes before scrubbing with a brush or sponge. Rinse with clean water and dry the wall thoroughly.
Replacing Old Plastic Shutters with New Ones: A Step-by-Step Guide
If you’re replacing old plastic shutters with new ones, here’s what you need to do:
- Take accurate measurements of the window or opening to ensure you purchase the correct size and type of shutter.
- Attach any necessary brackets or hinges to the shutters using a screwdriver.
- Place the shutters on the window or opening and secure them using screws or pins.
Before removing the old shutters, it’s important to inspect the surrounding area for any damage or wear and tear. This includes checking the condition of the window frame, hinges, and screws. If any repairs are needed, it’s best to address them before installing the new shutters.
Additionally, when selecting new shutters, consider the material and style that will best suit your needs. While plastic shutters are affordable and low-maintenance, they may not be as durable as other materials such as wood or metal. It’s also important to choose a style that complements the overall aesthetic of your home.
Alternatives to Plastic Shutters: Pros and Cons
While plastic shutters are a popular choice for exterior decor, there are other alternatives available. Here are a few pros and cons of some of them:
- Wooden shutters: Pros: timeless, natural, can be painted or stained, environmentally friendly. Cons: expensive, high maintenance, susceptible to rotting or warping.
- Aluminum shutters: Pros: lightweight, durable, low maintenance, weather-resistant. Cons: expensive, can dent or scratch easily.
- Vinyl shutters: Pros: affordable, easy to maintain, lightweight, come in a variety of colors and styles. Cons: may fade or crack over time, not as durable as other materials.
Aside from the three materials mentioned above, there are other alternatives to plastic shutters that you may want to consider. One of them is composite shutters, which are made from a combination of wood and synthetic materials. They offer the natural look of wood without the high maintenance and susceptibility to rotting or warping. However, they can be more expensive than vinyl shutters.
Another alternative is fiberglass shutters, which are known for their durability and resistance to extreme weather conditions. They are also low maintenance and can be painted to match your home’s exterior. However, they can be more expensive than vinyl and aluminum shutters.
Conclusion
Removing plastic shutters from walls and windows may seem like a daunting task, but with the right tools and safety precautions, it can be done easily. Follow these step-by-step instructions to remove old shutters and dispose of them responsibly. If you’re replacing them with new ones, take accurate measurements, choose the right material, and follow the manufacturer’s instructions. Consider the pros and cons of other alternatives to plastic shutters before making a decision.
It’s important to note that plastic shutters can have negative impacts on the environment, as they are not biodegradable and can take hundreds of years to decompose. Consider using shutters made from sustainable materials, such as bamboo or reclaimed wood, to reduce your carbon footprint. Additionally, regular maintenance and cleaning of shutters can prolong their lifespan and reduce the need for replacement. By making conscious choices, we can all contribute to a healthier planet.


