How to Remove Interior Shutters
7 min read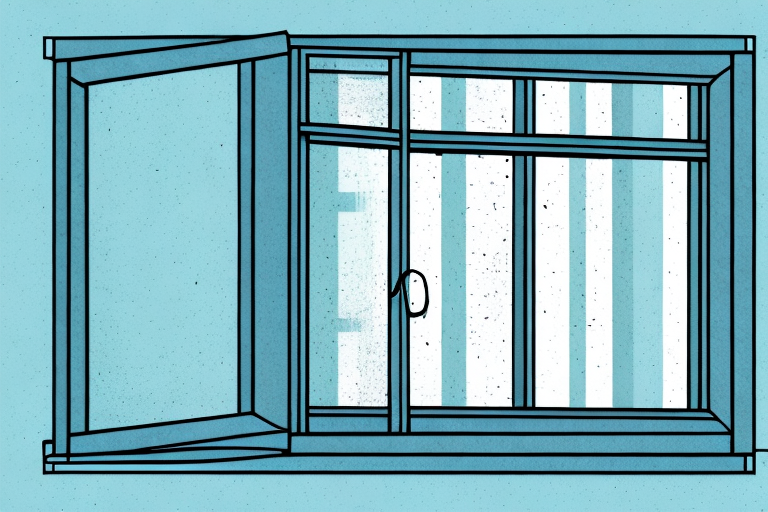
A window with interior shutters being removed
If you’re looking to change up your home’s interior design, removing interior shutters can be a great way to start. Interior shutters are a popular choice for many homeowners due to their exquisite beauty, ease of use, and functionality. However, over time, it may become necessary to take them down for cleaning, renovation or upgrade purposes. If you’re looking to remove your interior shutters, there are a few things you need to consider first such as tools, safety precautions, and types of interior shutters. In this article, we’ll discuss the step-by-step guide to removing interior shutters, along with some common problems, cleaning and maintenance tips, and DIY vs. professional removal options to help you make an informed decision.
Tools Required for Removing Interior Shutters
Before you start removing your interior shutters, you need to make sure you have all the necessary tools. These tools include a drill, a hammer, a screwdriver, a ladder, a miter saw or hacksaw, a pry bar or pinewood, and a measuring tape. Once you have all these tools, you’re ready to start removing your interior shutters.
It’s important to note that the specific tools you need may vary depending on the type of interior shutters you have. For example, if your shutters are attached with screws, you may need a specific type of screwdriver to remove them. If your shutters are made of a delicate material, such as wood, you may need to use a more gentle pry bar to avoid damaging them.
Additionally, it’s a good idea to have some protective gear on hand when removing interior shutters. Safety glasses can protect your eyes from flying debris, and gloves can help prevent cuts and scrapes. If you’re removing shutters from a high location, such as a second-story window, you may also want to consider using a safety harness or other fall protection equipment.
Step-by-Step Guide to Removing Interior Shutters
If you want to remove your interior shutters, you can follow these simple steps:
- Step 1: Identify the type of interior shutters you have. Different shutters have different ways of attaching to the window frame. Some are attached using screws, while others use latches or grooves.
- Step 2: Remove the screws or latches or gently slide the shutter out of the groove to release it from the frame.
- Step 3: If the shutters are painted or stained, use a miter saw or hacksaw to cut the shutters into smaller pieces before removing them to prevent damage to the surrounding area.
- Step 4: Pull the shutter off the hinges or brackets and lay it on a flat surface for further disassembly.
- Step 5: Repeat steps 1-4 for each shutter until all the shutters are removed.
It is important to note that removing interior shutters can be a time-consuming process, especially if you have a large number of shutters to remove. It is recommended that you set aside a few hours to complete the task and have all the necessary tools on hand before starting. Additionally, if you are unsure about any aspect of the removal process, it is best to consult a professional to avoid causing damage to your windows or surrounding areas.
Safety Precautions to Take Before Removing Interior Shutters
Before removing your interior shutters, it’s important to take safety precautions to prevent accidents, including:
- Shut off electricity near the shutter mounting location.
- Secure the ladder on a flat and stable surface to prevent it from wobbling or falling.
- Use protective gear such as gloves, goggles, masks, and helmets to prevent injuries.
- Work with a partner when removing heavy shutters to avoid accidents.
Additionally, it’s important to inspect the shutters for any signs of damage or wear and tear before removing them. This can help prevent any accidents or injuries that may occur during the removal process.
Furthermore, it’s recommended to have a plan in place for disposing of the shutters after they have been removed. This may involve contacting a waste management company or arranging for a bulk pickup with your local municipality.
Understanding the Different Types of Interior Shutters
There are different types of interior shutters, including:
- Café-style shutters that cover only the lower part of the window.
- Plantation shutters that cover the entire window.
- Sliding barn shutters that slide over the window.
- Accordion shutters that fold in and compact near the window.
Knowing the type of interior shutters you have is important as it helps plan the removal process.
Another important factor to consider when choosing interior shutters is the material they are made of. Some common materials include wood, vinyl, and composite. Wood shutters offer a classic and elegant look, but can be more expensive and require more maintenance. Vinyl shutters are more affordable and low-maintenance, but may not offer the same level of durability as wood. Composite shutters are a blend of wood and synthetic materials, offering the best of both worlds in terms of durability and affordability.
It’s also important to consider the style of your home when choosing interior shutters. For example, if you have a modern or minimalist home, sleek and simple shutters may be the best fit. On the other hand, if you have a more traditional or rustic home, shutters with decorative details or a distressed finish may be more appropriate.
Common Problems with Interior Shutters and How to Fix Them
Interior shutters can face various problems, including sagging, sticking, or warping, among others. To fix these problems, begin by assessing the shutter’s problem, and work accordingly. You can use a pry bar to lift the shutters back into place or sand down the rough spots to avoid them from sticking. For more complicated problems, it may be a good idea to seek professional help.
Another common problem with interior shutters is fading or discoloration due to exposure to sunlight. To prevent this, consider installing shutters with UV-resistant finishes or applying a protective coating to the shutters. Additionally, regular cleaning and maintenance can help prolong the life of your shutters and prevent further damage. Use a soft cloth or brush to remove dust and debris, and avoid using harsh chemicals or abrasive materials that can scratch or damage the shutters.
Tips for Cleaning and Maintaining Interior Shutters
To keep your interior shutters in good condition, it’s essential to clean and maintain them regularly. Cleaning shutters on a regular basis keeps them free of dust, dirt, and other environmental elements that can cause wear and tear. To clean your shutters, use a soft cloth dampened in warm soapy water or a solution of vinegar and water. Avoid using abrasive materials or harsh chemicals when cleaning.
In addition to regular cleaning, it’s important to inspect your shutters for any signs of damage or wear. Check for loose or broken slats, hinges, or other hardware. If you notice any issues, it’s best to address them as soon as possible to prevent further damage and ensure the longevity of your shutters.
Another tip for maintaining your interior shutters is to adjust them according to the season. During the winter months, keep the shutters closed to help insulate your home and keep the cold air out. In the summer, open the shutters to allow for better air circulation and natural light. By adjusting your shutters seasonally, you can help improve the energy efficiency of your home and reduce your energy bills.
Removing Window Treatments Before Removing Interior Shutters
If the shutters have curtains or drapes or any window coverings, remove them first before taking the shutters out. This gives you better access to the shutters while minimizing damage to your window treatments.
Additionally, it is important to note that removing window treatments before removing interior shutters can also help prevent any potential safety hazards. If the window treatments are left in place while removing the shutters, they may become tangled or caught, causing them to fall or become damaged. By removing them first, you can ensure a safer and more efficient removal process.
Replacing or Repurposing Your Old Interior Shutters
If you decide to replace or repurpose your old interior shutters, you can either reuse them for DIY projects, donate, or sell them to homeowners looking for the same interior shutters.
Repurposing old interior shutters can be a fun and creative way to add a unique touch to your home decor. You can turn them into a room divider, a headboard, or even a bookshelf. With a little bit of imagination and some basic tools, the possibilities are endless. Reusing your old shutters not only saves you money but also helps reduce waste and promotes sustainability.
DIY vs Professional Removal of Interior Shutters
The decision to have your shutters professionally removed or to do it yourself depends on many factors, including cost, the extent of work, and complexity issues. DIY is cheaper but may be more labor-intensive compared to professional removal. Professional removal, on the other hand, can be more efficient and quicker take to complete the task. You can consider both options and choose the one that suits you best.
In conclusion, removing interior shutters can be a fulfilling DIY task that breathes new life into your home. With the right tools, safety precautions, and the right plans, you can have your shutters removed in no time. Be sure to take all the necessary safety precautions and follow this guide to make the process smooth and seamless.
It is important to note that if your shutters are old or have been painted multiple times, it may be more difficult to remove them. In such cases, it may be best to seek professional help to avoid damaging your walls or windows. Additionally, if you are not comfortable working with power tools or climbing ladders, it may be safer to hire a professional to remove your shutters. Always prioritize your safety and the safety of those around you when making this decision.


