The Ultimate Guide to Plastering Walls: Must-Have Tools and Types of Plaster to Use
5 min read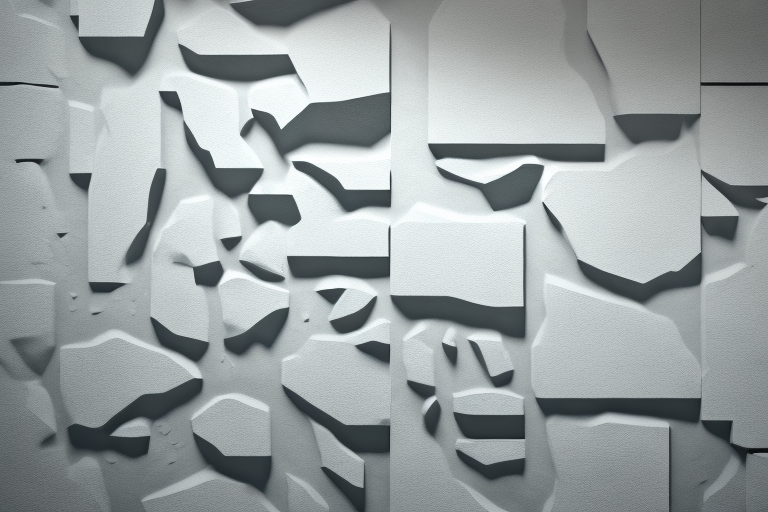
A wall with different types of plaster being applied
Have you been wondering how to plaster your walls? Plastering is a great way to give your home walls a fresh and smooth finish. However, to create a professional-looking plaster finish, you’ll need to have the right tools and use the right type of plaster. This ultimate guide will provide you with all the information you need to know about the different types of plaster and the tools you’ll need to achieve a successful plastering project.
Understanding the Different Types of Plaster for Your Walls
Before we dive into the tools you require, let’s examine the different types of plaster available for wall application.
Gypsum Plaster vs. Lime Plaster
Gypsum plaster is a popular choice for wall plastering. It is a white powder that is mixed with water to create a paste. It sets quickly, making it an ideal option for DIY projects. Lime plaster, on the other hand, is more breathable, making it an excellent choice for older or damp buildings.
Cement Plaster vs. Clay Plaster
Cement plaster is a mixture of cement, sand, and water. It is more durable and water-resistant than other types of plaster. It’s best for exterior walls, where high resistance to weather conditions is necessary. Clay plaster is an eco-friendly option that is perfect for those who want to maintain a natural and healthy environment.
Another type of plaster that is gaining popularity is acrylic plaster. It is a synthetic material that is easy to apply and dries quickly. It is also resistant to cracking and fading, making it a great option for high-traffic areas.
If you’re looking for a more decorative option, Venetian plaster is a great choice. It is a smooth and glossy plaster that can be tinted to create a variety of colors and textures. It is often used in high-end homes and commercial spaces to create a luxurious look.
Must-Have Tools for a Successful Plastering Project
Now that you know about the different types of plasters, let’s have a look at the essential tools that you need for a successful plastering project.
The Gauging Trowel: What It Is and How to Use It
The gauging trowel is a small, long-bladed trowel used for mixing plaster and water to form a paste. It has a flat surface that allows you to mix the plaster correctly. Always remember to clean it after use.
The Bucket Trowel: A Plasterer’s Best Friend
The bucket trowel is a small, sharp trowel used for scooping plaster from the bucket. It’s also perfect for buttering the edges of the hawk. It comes in handy when applying small patches of plaster.
Window Trowel: Perfect for Small Spaces
The window trowel has a triangular shape that makes it ideal for working in tight spots, such as corners and window sills. It’s also easy to maneuver, making it an essential tool for achieving a smooth finish.
Spackle Knife: Ideal for Smoothing Out Imperfections
The spackle knife is used for smoothing out rough edges and ensuring your plaster layer is even. It’s a great tool for achieving a clean and professional finish.
Utility Knife: A Multi-Purpose Tool for Plastering
The utility knife is a must-have tool for cutting and trimming plasterboards and drywall. It also comes in handy when removing excess plaster from the wall.
Spirit Level: Ensuring Your Walls are Straight and Level
The spirit level is an essential tool for ensuring your walls are level and straight. It has a liquid-filled vial with a bubble that shows you whether a surface is level or plumb. Use it to measure the vertical and horizontal planes when fixing plasterboards to the walls.
Sponge: Essential for a Smooth Finish
The sponge is a tool used to improve the surface finish. It’s best to dampen it when finishing off the plaster because it softens the surface and gives it a smooth finish. Always remember to wring it out thoroughly before using.
Float: The Key to Achieving a Professional Look
The float is used to smooth out and flatten the plaster surface. It’s also handy for creating decorative patterns in the plaster. The float is an essential tool for achieving a professional finish.
Straight Edge: A Must-Have for Large Surfaces
A straight edge is a long, flat piece of metal that is ideal for large surfaces. It helps you achieve a smooth and even finish in a shorter amount of time. They come in various sizes, and it’s best to have a few different lengths available for different parts of the wall.
Hawk: Holding Plaster Made Easy
A hawk is a flat, rectangular surface with a handle that is used for holding the plaster. It’s a versatile tool that allows you to apply the plaster to the wall with ease. It also comes in various sizes, depending on the job, and can hold a lot of plaster at once.
Hammer: For Nailing Lath to Studs
A hammer is a necessary tool for nailing lath to the studs. Make sure it’s a lightweight hammer that you can handle easily.
Paddle Mixer: Mixing Plaster with Ease
The paddle mixer is a tool that attaches to a drill and makes it easy to mix plaster. It’s ideal for mixing larger amounts of plaster and ensures a smooth consistency throughout.
With all these great tools and knowledge of the different plaster types, you can now tackle your plastering project with confidence. Remember to always follow safety precautions and take extra care when working on high walls. Happy plastering!
Plastering Gloves: Protect Your Hands
Plastering can be tough on your hands, so it’s essential to wear gloves to protect them. Look for gloves that are durable and provide a good grip, so you can handle your tools with ease. They should also be comfortable and fit well, so you can work for extended periods without discomfort.
Dust Mask: Protect Your Lungs
Plastering can create a lot of dust, which can be harmful to your lungs. It’s essential to wear a dust mask to protect yourself from inhaling dust particles. Look for a mask that fits well and has a high filtration rating to ensure maximum protection.
By adding plastering gloves and a dust mask to your tool kit, you can protect yourself while achieving a professional finish. Remember to always wear protective gear and work in a well-ventilated area to ensure your safety.