How to Refinish Vinyl Shutters
8 min read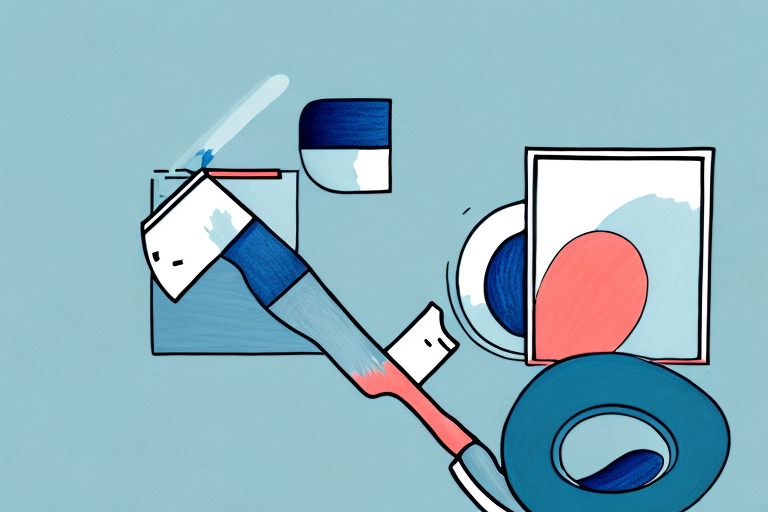
A person sanding and painting a set of vinyl shutters
If the color of your vinyl shutters has faded or you’re simply looking to update their appearance, refinishing is the way to go. While vinyl shutters are low maintenance as compared to their wood or metal counterparts, they do require a little bit of elbow grease and the right tools to restore them. In this article, we will guide you through the process of refinishing vinyl shutters so that you can enjoy their fresh appearance for years to come.
Why Refinishing Vinyl Shutters is Essential
Over time, exposure to sunlight, rain, and dirt can cause your vinyl shutters to lose their color and appeal. Refinishing them not only enhances their appearance, but it also extends their lifespan. It also helps to protect them from further deterioration and makes them easier to clean and maintain.
Another benefit of refinishing your vinyl shutters is that it can increase the value of your home. When potential buyers see that your shutters are well-maintained and look like new, they will be more likely to view your home as a desirable property. This can lead to a higher selling price and a quicker sale.
Additionally, refinishing your vinyl shutters is a cost-effective alternative to replacing them. New shutters can be expensive, and the installation process can be time-consuming. Refinishing, on the other hand, is a relatively quick and affordable process that can give your shutters a fresh new look without breaking the bank.
Preparation: What You Need Before Starting
Before you begin, you’ll need to gather some basic supplies. This includes sandpaper, a paintbrush, a paint roller, paint, paint trays, a drop cloth, a bucket, and water. Make sure that you have enough supplies to complete the project without running out midway through.
Additionally, it is important to prepare the surface that you will be painting on. This may involve cleaning the area, removing any old paint or wallpaper, and filling in any cracks or holes. It is also a good idea to prime the surface before painting, especially if it is a new or porous material. Taking the time to properly prepare the surface will ensure that your paint job looks smooth and lasts longer.
Cleaning Your Vinyl Shutters Before Refinishing
The first step to refinishing your vinyl shutters is to clean them thoroughly. Use a bucket of warm soapy water and a sponge to wipe down the shutters, making sure to remove any dirt, debris, or mildew. For stubborn stains, use a mild detergent and a soft-bristled brush. Rinse the shutters with clean water and let them dry completely before moving on to the next step.
It is important to note that some vinyl shutters may require additional cleaning steps depending on the level of dirt and grime buildup. In such cases, a pressure washer or a specialized vinyl cleaner may be necessary. It is also recommended to wear protective gloves and eyewear when handling cleaning agents to avoid any potential harm. Taking the time to properly clean your vinyl shutters before refinishing will ensure a smooth and long-lasting finish.
Sanding the Shutters: How to Do it Right
Sanding your shutters is an essential step in refinishing them. Use sandpaper with a grit of 220 or higher to roughen the surface of the shutters, this helps the paint to better adhere to the surface. Start by sanding the edges and corners of the shutters, then move on to the flat areas. Sand the shutters until they are smooth and free of any bumps, scratches or imperfections. Once done, clean off any dust left behind.
It is important to note that sanding should be done in a well-ventilated area, as the dust can be harmful if inhaled. Additionally, if your shutters have intricate designs or carvings, you may need to use a smaller sanding tool or even sandpaper wrapped around a pencil to get into all the crevices.
After sanding, you may want to consider applying a wood conditioner to the shutters before painting or staining. This will help to even out the wood’s absorption of the paint or stain, resulting in a more uniform finish. Allow the conditioner to dry completely before moving on to the next step.
Choosing the Right Paint and Color for Your Shutters
When selecting paint for your shutters, you want to make sure that it is suitable for vinyl exteriors and durable enough to withstand the elements. There are certain paints that specifically formulated for vinyl, but you can also use high-quality exterior latex paint. The color that you ultimately choose should complement the style and color scheme of your home.
It’s important to consider the climate in your area when choosing the right paint for your shutters. If you live in an area with high humidity or extreme temperatures, you may want to opt for a paint with added protection against fading and cracking. Additionally, if you’re looking to make a statement with your shutters, consider choosing a bold color that contrasts with the color of your home’s exterior. This can add a pop of personality and curb appeal to your home.
Painting Your Vinyl Shutters: Tips and Tricks
When painting your shutters, one tip is to use a high-quality brush or roller. Dip the brush into the paint and apply a thin, even layer of paint to the shutters, being careful not to let it pool or drip. Allow the first coat of paint to dry and then lightly sand the shutters before applying a second coat of paint. Remember to work in a shaded area and to apply paint on days with mild weather conditions.
Another important tip to keep in mind when painting vinyl shutters is to choose the right type of paint. Look for a paint that is specifically designed for use on vinyl surfaces, as this will ensure that the paint adheres properly and lasts longer. Additionally, consider using a primer before painting to help the paint adhere even better.
It’s also important to properly prepare the shutters before painting. Clean them thoroughly with soap and water, and allow them to dry completely before beginning to paint. If there are any cracks or holes in the shutters, fill them with caulk or putty and allow them to dry before painting.
How to Avoid Common Mistakes While Painting Shutters
One of the most common mistakes made when painting shutters is to apply too thick a layer of paint. This can cause the paint to peel off after some time. Another mistake is to paint the shutters on a sunny day, which can affect the way the paint dries. To prevent these problems, follow the instructions on the paint can carefully and work in favorable weather conditions.
Another mistake to avoid is not properly preparing the surface of the shutters before painting. Make sure to clean the shutters thoroughly and sand any rough spots or peeling paint. This will ensure that the new paint adheres properly and lasts longer.
It’s also important to choose the right type of paint for your shutters. Exterior paints are designed to withstand the elements and are a better choice for outdoor shutters. Additionally, consider using a primer before painting to help the paint adhere better and last longer.
Drying and Curing Your Vinyl Shutters
Before reinstalling your newly painted shutters, allow them to dry and cure completely. This may take up to a week or more, depending on the type of paint and weather conditions. Once the paint has fully cured, test the shutters to make sure that they do not stick to each other.
It is important to note that the drying and curing process is crucial for the longevity of your vinyl shutters. Rushing this process may result in the paint peeling or chipping off over time. To ensure the best results, it is recommended to follow the manufacturer’s instructions for the paint and allow for ample drying and curing time.
In addition, it is important to properly clean and maintain your vinyl shutters after they have been painted and reinstalled. Regular cleaning with a mild soap and water solution can help prevent dirt and grime buildup, which can cause the paint to deteriorate over time. Avoid using harsh chemicals or abrasive materials when cleaning your shutters, as this can also damage the paint and vinyl material.
Reinstalling Your Newly Refinished Vinyl Shutters
Once the shutters are completely dry and cured, you can reinstall them. Check them to make sure that the hinges and latches are secure and that they open and close smoothly. For exterior shutters, make sure that the screws are long enough to go through the shutter and into the siding of the house. Finally, give the shutters a final cleaning to remove any dust or debris that may have accumulated during the installation process.
It is important to note that if you are not comfortable reinstalling the shutters yourself, it is best to hire a professional to ensure that they are properly installed. Improper installation can lead to damage to the shutters or even cause them to fall off the house.
Additionally, if you notice any damage or wear and tear on the shutters during the reinstallation process, it may be a good time to consider replacing them. Refinishing can only do so much, and if the shutters are beyond repair, it may be more cost-effective in the long run to invest in new ones.
Maintaining Your Vinyl Shutters to Keep Them Looking Great
To keep your vinyl shutters looking their best, make sure to clean them regularly and check for any damage. Use a soft-bristled brush or a low-pressure washer to remove any dirt or debris, avoid using harsh chemicals that may cause damage. If there is damage to your shutters, such as scratches, use a paint touch-up kit to repair them as soon as possible.
In addition to regular cleaning and maintenance, it’s important to protect your vinyl shutters from extreme weather conditions. If you live in an area with high winds or frequent storms, consider installing storm shutters or removing your vinyl shutters during severe weather. This will help prevent any damage or warping to your shutters, ensuring they continue to look great for years to come.
DIY vs Professional Refinishing: Which One is Right for You?
If you’re confident in your ability to refinish your vinyl shutters, then DIY is the way to go. However, if you have a large number of shutters or you’re unsure about your ability, then hiring a professional to do the job is the best option. Professionals will have all the equipment and knowledge needed to refinish your shutters quickly and efficiently.
By following the steps laid out in this article, you can transform the appearance of your vinyl shutters and protect them from further damage. Whether you choose to refinish them yourself or hire a professional, your shutters are sure to look beautiful and enhance the curb appeal of your home.
It’s important to note that while DIY refinishing may save you money, it can also be time-consuming and may not produce the same quality results as a professional job. Additionally, if you make a mistake during the DIY process, it could end up costing you more money in the long run to fix the problem. On the other hand, hiring a professional may cost more upfront, but it can save you time and ensure that the job is done correctly the first time around.


