How to Install Plantation Shutters
8 min read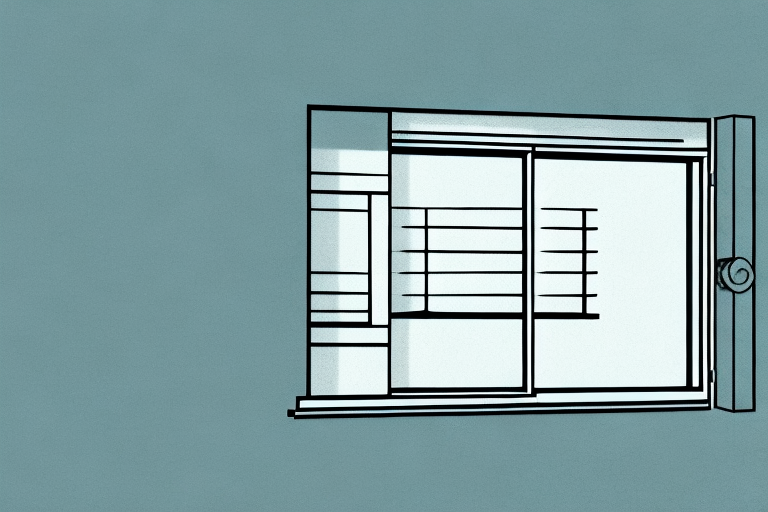
A window with a plantation shutter installed
Plantation shutters are a great addition to any home or office, not only for their elegant look but also their versatility. Installing shutters may seem daunting, but with the right tools and steps, it can be done with ease. This article will guide you through the installation process, including understanding the types of shutters available, assessing the window, preparing tools and materials, marking placement, drilling holes, attaching mounting brackets, positioning panels, and finally, perfecting the installation with touch-ups and clean-up tips. Additionally, we will provide you with maintenance tips and a troubleshooting guide for common issues that may arise during the installation process.
Understanding the Types of Plantation Shutters Available
Before you start the installation, you will need to understand the different types of plantation shutters available. There are two primary options: traditional shutters that are made of wood and newer, synthetic shutters. Synthetic shutters are less expensive, more durable, and easier to maintain than traditional wooden shutters. However, if you want a more natural look and can afford it, traditional wooden shutters are a great option.
Another factor to consider when choosing plantation shutters is the size of the louvers. Louvers are the horizontal slats that can be adjusted to control the amount of light and privacy in a room. The most common sizes for louvers are 2.5 inches, 3.5 inches, and 4.5 inches. The size you choose will depend on your personal preference and the size of your windows. Larger louvers can provide a more modern and open look, while smaller louvers can give a more traditional and classic appearance.
It’s also important to consider the color and finish of your plantation shutters. White is a popular choice for shutters, as it can brighten up a room and match any decor. However, there are many other colors and finishes available, including stained wood, natural wood, and painted finishes. You can choose a color and finish that complements your existing decor or creates a bold statement in your room.
Assessing the Window to Determine the Right Size for Shutters
Prior to installation day, you will need to measure your windows to determine the perfect fit for your shutters. Measure both the height and width of the window frame to ensure a perfect fit. Once you have your measurements, you can start to look for shutters that will fit your windows or have them custom made to fit your windows perfectly.
It is important to note that the type of shutter you choose can also affect the sizing. For example, if you opt for a shutter that mounts on the inside of the window frame, you will need to measure the inside of the frame rather than the outside. Additionally, if you choose a shutter with a tilt rod, you will need to factor in the space needed for the rod to operate smoothly. Taking these factors into consideration will ensure that your shutters not only fit perfectly, but also function properly.
Tools and Materials Needed for Installation
Once you have your shutters, you will need to gather your tools and materials for installation. For this project, you will need a drill, a measuring tape, a level, screws, and anchors. Additionally, you may need touch-up paint and silicone adhesive, depending on the shutters you have. Remember to read the installation instructions that come with your shutters to determine if there are specific tools or materials needed.
It is important to note that the type of surface you will be installing the shutters on may also require additional tools or materials. For example, if you are installing shutters on brick or stucco, you may need a masonry drill bit and anchors specifically designed for those surfaces. On the other hand, if you are installing shutters on wood, you may need wood screws and wood filler to ensure a secure fit.
Before beginning the installation process, it is also recommended to have a helper to assist with holding the shutters in place while you secure them. This can make the installation process smoother and safer. Additionally, it is important to wear appropriate safety gear, such as gloves and safety glasses, when using power tools or handling sharp materials.
Measuring and Marking the Placement of Shutters
With your tools and materials ready, it’s time to measure and mark the placement of your shutters. Begin by measuring and marking the center of the window both horizontally and vertically. Next, using a level, mark the location of the brackets on the frame of your window. This will ensure that your shutters will be straight and level once installed.
It’s important to consider the size of your shutters in relation to the size of your window. If your shutters are too small, they may not provide adequate coverage and privacy. On the other hand, if they are too large, they may overwhelm the window and look out of place. Take accurate measurements of your window and choose shutters that are proportionate to the size of the window.
Additionally, consider the style and color of your shutters. They should complement the overall aesthetic of your home and enhance its curb appeal. If you’re unsure about which style or color to choose, consult with a professional or seek inspiration from home design magazines and websites.
Drilling Holes for Mounting Brackets
After you have marked the placement of the brackets, you will need to drill holes in the frame of the window. Make sure to use the right size drill bit for your screws and be sure to drill straight into the frame. Be careful not to go too deep or you may damage the glass or the frame. Securely anchor the screws into the holes to complete the installation of the brackets.
It is important to note that before drilling any holes, you should check for any electrical wiring or plumbing that may be hidden behind the wall. You can use a stud finder or consult with a professional to ensure that you do not accidentally drill into any important structures.
If you are unsure about drilling into the frame of your window, you can also consider using adhesive mounting strips instead. These strips can provide a secure hold without the need for drilling, and can be easily removed without causing damage to the frame or the wall.
Attaching Mounting Brackets to the Window Frame
Once the holes have been drilled, place the mounting brackets on the frame and screw them in place. Make sure they are level and lined up with the marks you made earlier. If the shutters come with a bracket cover, attach it now.
It is important to note that the type of screws used to attach the mounting brackets to the window frame will depend on the material of the frame. For example, if the frame is made of wood, use wood screws. If the frame is made of metal, use metal screws. Using the wrong type of screw can cause damage to the frame and compromise the stability of the shutters.
Installing Shutter Panels onto Mounting Brackets
Now that you have securely attached the mounting brackets, it’s time to install the shutter panels onto the brackets. The shutters should easily slot into the brackets. Then, align the panel such that it is level and centered.
It’s important to note that some shutter panels may require additional hardware, such as screws or clips, to secure them onto the mounting brackets. Be sure to check the manufacturer’s instructions for any specific requirements. Once the panels are securely in place, test their functionality by opening and closing them to ensure they operate smoothly.
Positioning and Adjusting Shutter Panels for Perfection
Once the panels are installed, there may be small adjustments needed to achieve the perfect fit. Use a level and adjust the shutters as needed until they are straight and level. If there are gaps or uneven spaces between the shutters and the window frame, adjust them accordingly until they align perfectly.
It is important to note that the type of material used for the shutters can affect the adjustments needed. For example, wooden shutters may require more frequent adjustments due to changes in humidity and temperature. It is recommended to check the shutters periodically and make any necessary adjustments to ensure they continue to fit properly and function effectively.
Finalizing the Installation with Touch-ups and Clean-up Tips
After you have installed and adjusted your shutters, you may need to do some touch-ups. A little silicone adhesive or touch-up paint around the frame will finish your installation. Also, take the time to clean up the area around the window, removing any debris, dust, or dirt that may have accumulated during the installation process.
It is important to note that if you used screws to install your shutters, you may want to cover the screw heads with a matching paint or putty to create a seamless look. Additionally, if you notice any gaps between the frame and the wall, you can use caulking to fill them in and create a more secure installation.
Once you have completed the touch-ups, it’s time to focus on clean-up. Use a soft cloth or brush to remove any dust or debris from the shutters and surrounding area. If you used silicone adhesive, be sure to clean up any excess with a damp cloth before it dries. Finally, step back and admire your newly installed shutters!
Maintenance Tips to Keep Plantation Shutters Looking New
Maintaining your shutters is key to ensuring they remain looking new and last for many years. Keeping them clean is crucial, especially in environments that are prone to dust buildup. Dusting your shutters regularly will prevent dust from accumulating. Additionally, cleaning them with a soft cloth and mild, non-abrasive cleaner will keep them looking new. Always avoid areas with high humidity or exposure to water, which could warp the wood or damage synthetics.
Another important maintenance tip is to inspect your shutters regularly for any signs of wear and tear. Check for loose or broken slats, hinges, or other hardware. If you notice any damage, it’s important to address it promptly to prevent further damage or potential safety hazards. You can also consider applying a protective coating or sealant to your shutters to help prevent damage from UV rays or other environmental factors. By taking these steps, you can ensure that your plantation shutters remain in top condition for many years to come.
Troubleshooting Common Issues During Installation
Despite following these installation steps, there may be issues that arise. Common issues include uneven gaps, shutter misalignment, and poor fit. If you encounter these issues, refer to the installation instructions that came with the shutters or contact the manufacturer for assistance. Most often, they will be able to provide solutions.
Congratulations, you have successfully installed plantation shutters! This elegant addition to your home or office will bring a refined look and increased versatility to any room.
It is important to note that regular maintenance is necessary to keep your plantation shutters looking their best. Dust and debris can accumulate on the louvers and frames, so it is recommended to clean them with a soft cloth or brush regularly. Additionally, if you live in an area with high humidity, it is important to keep the shutters dry to prevent warping or damage.


